
These tips from the experts make it easy to clean your faucet head so it looks brand new—and works better too!
Now Trending
Whether in the kitchen or the bathroom (or anywhere else, really!), buildup on faucet heads can lead to low flow and eventual bacterial growth—neither of which is desirable. For a pro-approved process for getting rid of the gunk, I called on my nearly 15 years of experience as an editor covering cleaning content. I pulled out my Rolodex and reached out to a top-tier faucet company along with a pair of professional cleaners to get their insight into how to clean a faucet head.
I live in a home that is over 50 years old and inherited some serious mineral deposits on the faucet heads. Plus, we’ve got hard water. So even the new fixtures we installed after moving in have developed an impressive amount of grime. I put my experts’ tips to the test to determine how to clean those fixtures once and for all. Bonus: You can employ these methods to clean your showerhead as well.
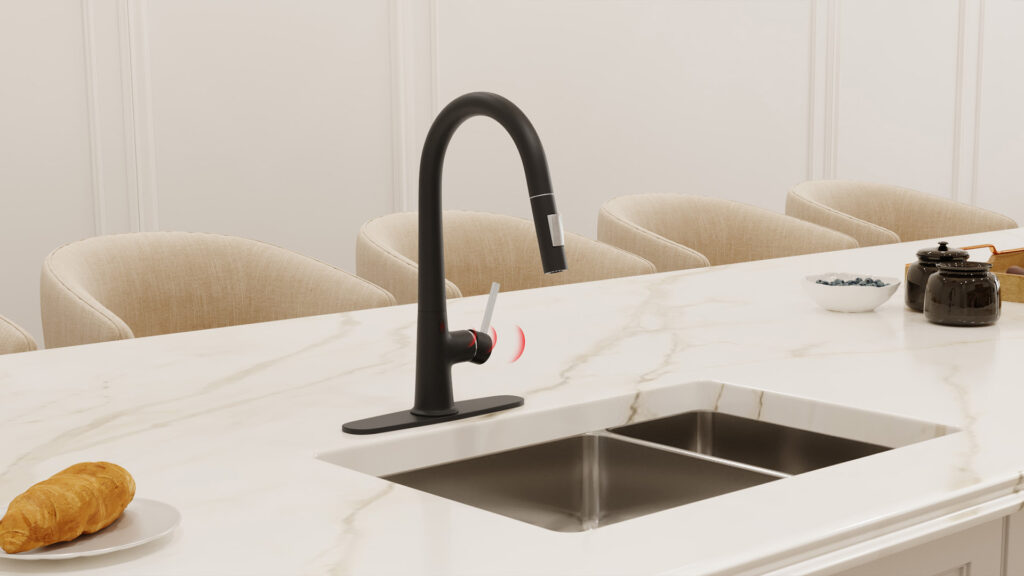
GIMILI Touchless Kitchen Faucet Matte Black
How to clean a faucet head
Faucets are prone to developing a mineral buildup around the rim and can get gummed up with other debris, like toothpaste or sediment from the water that flows through them. “The key to cleaning is doing it regularly,” says Gary Schopp, the knowledge manager at Delta Faucet Company. “Start gentle, and escalate only if needed.”
All the experts I talked to agreed that distilled white vinegar should be the main ingredient you reach for when cleaning a faucet head. Cleaning expert Tendy Takaidza explains that the acidity of raw lemon juice and grocery store apple cider vinegar are about the same as that of white vinegar, so any of these ingredients could work in a pinch.
Wondering what not to use? Schopp warns that industrial, abrasive or bleach-based cleaners should be avoided. He also says to “avoid products that state on the label that they remove tarnish and rust, along with those containing hydrofluoric, hydrochloric and/or phosphoric acids or other caustic agents.”
Supplies you’ll need
- Rubber jar opener pad (optional)
- Water
- Distilled white vinegar
- Bowl or zip-top bag
- Clip or rubber band
- Soft-bristle brush (like an old toothbrush) or nonabrasive sponge
- Microfiber cloth
Step 1: Break off buildup
For a spray wand (like on a kitchen sink or showerhead), Schopp says to “periodically rub your thumb over the nozzles to break off any buildup” that may be hindering the water flow. Knocking loose larger buildup will allow the cleaning solution to focus on the more stubborn sediment.
Step 2: Remove the faucet head (if you can)
If you have a spray wand with a removable head, detaching it can make cleaning easier. (If your faucet head does not come off, move on to Step 3.)
Here’s how to remove the faucet head:
- Extend the spray hose from the faucet.
- Put a clip on the hose to prevent it from retracting.
- Unscrew the faucet head.
This should not require tools. Schopp suggests using a rubber jar opener pad to get a better grip if you’re having trouble.
Step 3: Make your cleaner
Mix a one-to-one solution of water (any temperature) and distilled white vinegar. If you removed your faucet head, place it in a cup or bowl and add just enough solution to cover the underside of the faucet head, where the water comes out.
If your faucet is stationary, Takaidza has an easy cleaning tip: Add about 2 tablespoons of your solution to a zip-top bag and attach it to the faucet head with a rubber band or clip. Again, aim to cover the underside of the faucet head with the solution.
| ♦ Pro tip |
| In my tests, I found a binder clip to be most effective in keeping the bag of solution on my sink faucets, while a sturdy rubber band worked best on my larger showerhead. |

GIMILI Kitchen Faucet with Pull Down Sprayer Brushed Gold
Step 4: Let soak
Let the solution sit for at least 30 minutes. Dealing with particularly tough buildup? Let it soak overnight, says Brandon Pleshek, a third-generation janitor who offers up TikTok cleaning hacks and useful advice on his Clean That Up website and YouTube channel.
I tested this method on three sink faucets and one showerhead. I soaked the kitchen faucet and showerhead for about an hour and a half, while my particularly challenging kids’ bathroom faucet took more than two hours.
Step 5: Scrub the faucet head
Check your faucet head every 30 minutes or so, if you can, using a toothbrush or nonabrasive sponge to scrub the surface and knock loose additional sediment.
Cleaning your showerheads too? Takaidza notes that the nooks and crannies can get clogged up, so she suggests gently using a toothpick along with your brush to open up the holes.
Step 6: Repeat, if needed
If the buildup is particularly heavy, continue soaking the faucet head in the vinegar solution.
Step 7: Rinse and reassemble
Some folks choose to use baking soda for extra scrubbing power, but the vinegar soak should do the trick, so you just have to remove the faucet head from the bowl or bag and rinse it with water. Wipe it clean with a microfiber cloth. If you’ve removed the head, reattach it to the hose.